How To Sealcoat Your Driveway
Sealcoat Your Driveway
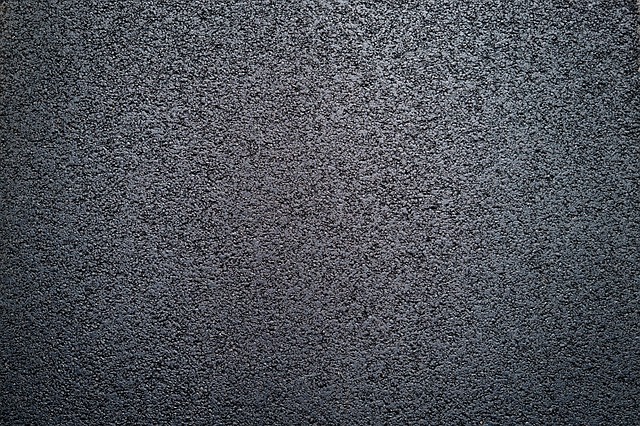
Sealcoating is a general term used to describe applying a top layer over an existing driveway or pavement. Driveways are often made up of rock, gravel, sand, and a binding agent to hold it together. As asphalt ages and this binding agent break down, unfortunately, it loses its ability to stick together. Keeping the binding material is paramount for driveway maintenance. As you would expect, without it, the asphalt will crack.
Sponsored by Asphalt Sealcoat Houston
The most common causes of binder degradation ultraviolet rays from the sun, rain, and chemicals such as antifreeze and car oil. To reduce this harmful process from ruining driveway, several individuals choose to seal coat the driveway to extend its life and also to prevent degradation. Additionally, when seal coating materials are used to manufacturers’ requirements, they give a slip-resistant surface.
Seal coating materials are typically either coal-based products or acrylic based emulsions. The seal coat material is in a liquid-water form of any of the above emulsions and then mixed with silica, water, polymers, sand and other fillers and solids to create the final product. The seal coat can then be applied by several different methods: by brush, spray method, or by a squeegee. The process should be performed by a professional, or you can do it yourself.
Before you plan to start your project here are tips that can improve the quality of your work and reduce the number of time you run to the local home improvement store.
- Trim the grass around a driveway before starting.
- Thoroughly sweep and blow any debris off the surface.
- Buy tape or rope to prevent people from accidentally walking or driving on the driveway.
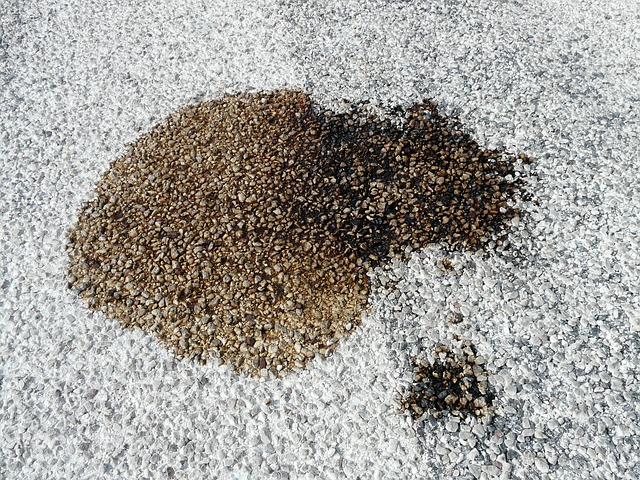
- Clean oil stains before sealing. Kitty Litter, Dawn Dishwashing soap, or sand can help absorb and remove oil
- Pull the cars or anything you need out of the driveway before starting the project
- The sealer can handle small cracks. But, before beginning use asphalt patch to seal larger cracks. Remember to clean the crevices.
- Any area near a garage door, walkway, or plants needs to be hand sealed with a brush so the sealer goes where it should. Many people want to cut this step short but taking your time will produce a better quality look. You will need a quality hand brush
- For large driveways, a sprayer is used after the hand brushing. Work around the edge to ensure complete driveway coverage.
- If the forecast is calling for rain anytime during your project day, reschedule as driveway sealer is impossible to clean up.
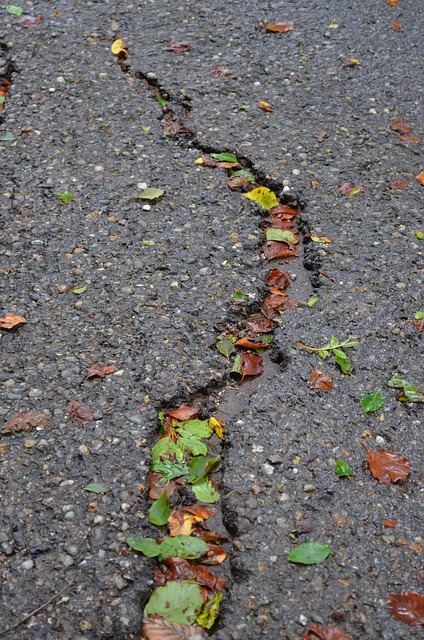
Repairing the Cracks
- Sweep in and around cracks to eliminate debris and pebbles.
- If the cracks have weed or grass, be sure to remove.
- Once you clean, use a high-quality asphalt mixture to fill the cracks.
- Use a trowel to press the mixture into the crevices. Make sure the patching compound is free of pebbles or dirt.
To seal your driveway once you have hand sealed areas defined above pour about 2 gallons of sealer on the pavement. It is great to work in small areas, keep coverage thin as possible. A squeegee will help pull the sealer up to your brush sealed areas. The sealer will need several hours to dry. Therefore, start the project early in the day so the midday sun can help. Most important read the instructions on the sealer you decide to use.
If you prefer to not do this yourself, we suggest you contact a professional. If you are in the Houston area, contact our friends at Houston Asphalt Sealcoating and have them take care of this project for you. We also love to hear from you so if you have any questions please contact us, or submit your great tips to us. If we use your tip on our site we will give you full credit. Thanks for reading!
Other Articles You May Enjoy: